Creating a modern thermostat with Temperzone
replacing a TZT-100 controller and making Temperzone HomeKit compatible
Detest the AC Controller; the TZT-100 on the wall. Hate; perhaps too strong an emotion, but one I readily associated with each interaction with my AC control panel.
I would be absolutely fine with it to be a dumb twisty knob, with technology no more advanced than a tensioned coil to regulate the temperature. But like a Bachelor of Arts, the promises encoded in its buttons were high, and it failed to accomplish anything useful. As a result - I over rotated to the other side of the spectrum and cobbled something that allows me to bring the apartment’s temperature control into the current century of connectivity, feedback, and interaction.
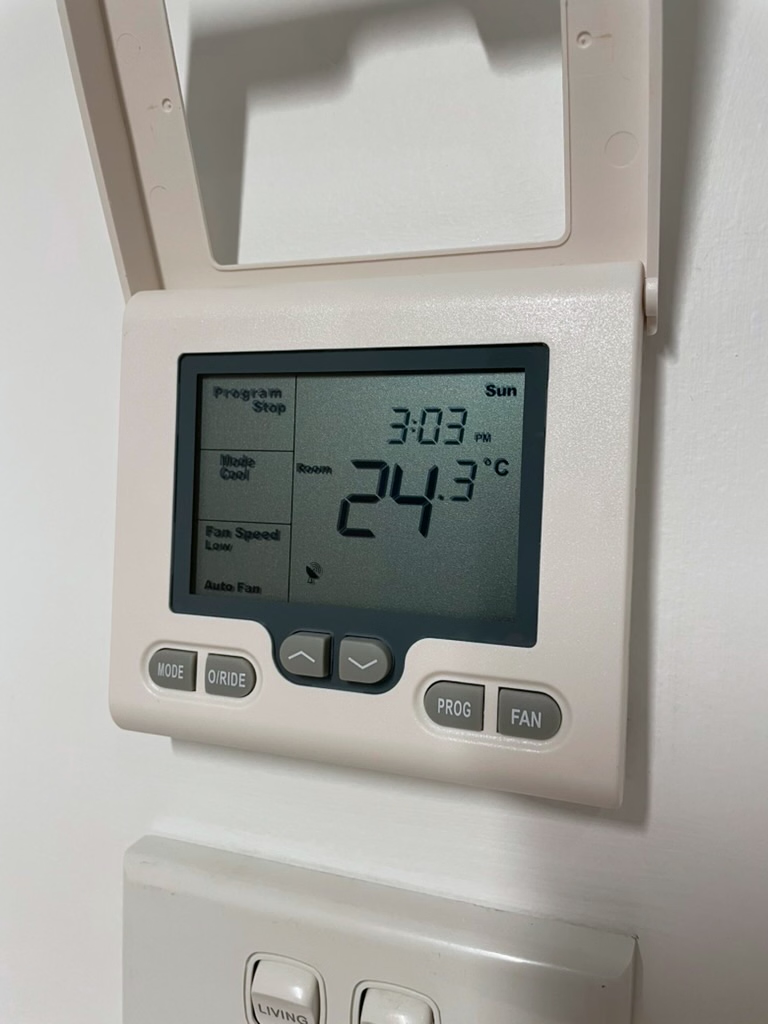
the TZT-100 the joyless controller of misery
TLDS ( too long didn’t skim ) :
- deployed a touch screen controller I never have to touch
- with the help of ESP32-enabled panel, and a USB-C to RS485 adapter reverse engineered the Temperzone’s Modbus protocol and its interaction with the on-the-wall TZT-100 thermostat
- coupled some in-room Shelly sensors, and an Aranet to create a whole-apartment zoned climate controller
- ended up with a native to Home Assistant, native to HomeKit, native to Siri and all worldly automations - AC Thermostat Controller
- none of this would be possible in this timeframe without the help of some LLMs; specifically Claude and Gemini
- designed an interface bespoke to my wishes, needs, and capability of the AC compressor
- shared my protocol recreation and ESP32 firmware romant/ac-panel
The “impossible” Problem and the Build
“Why go through this effort ? Aren’t there ready-made products available ? Surely this is a solved problem.” - some of my internal monologue for literally over a year. I even invited 3 separate AC companies that specialise in this exact compressor, install these exact controllers, and was told - “it’s impossible”.
Sigh ..
Like any technically-curious opposable thumb owner, I unscrewed the existing unit and went to work.
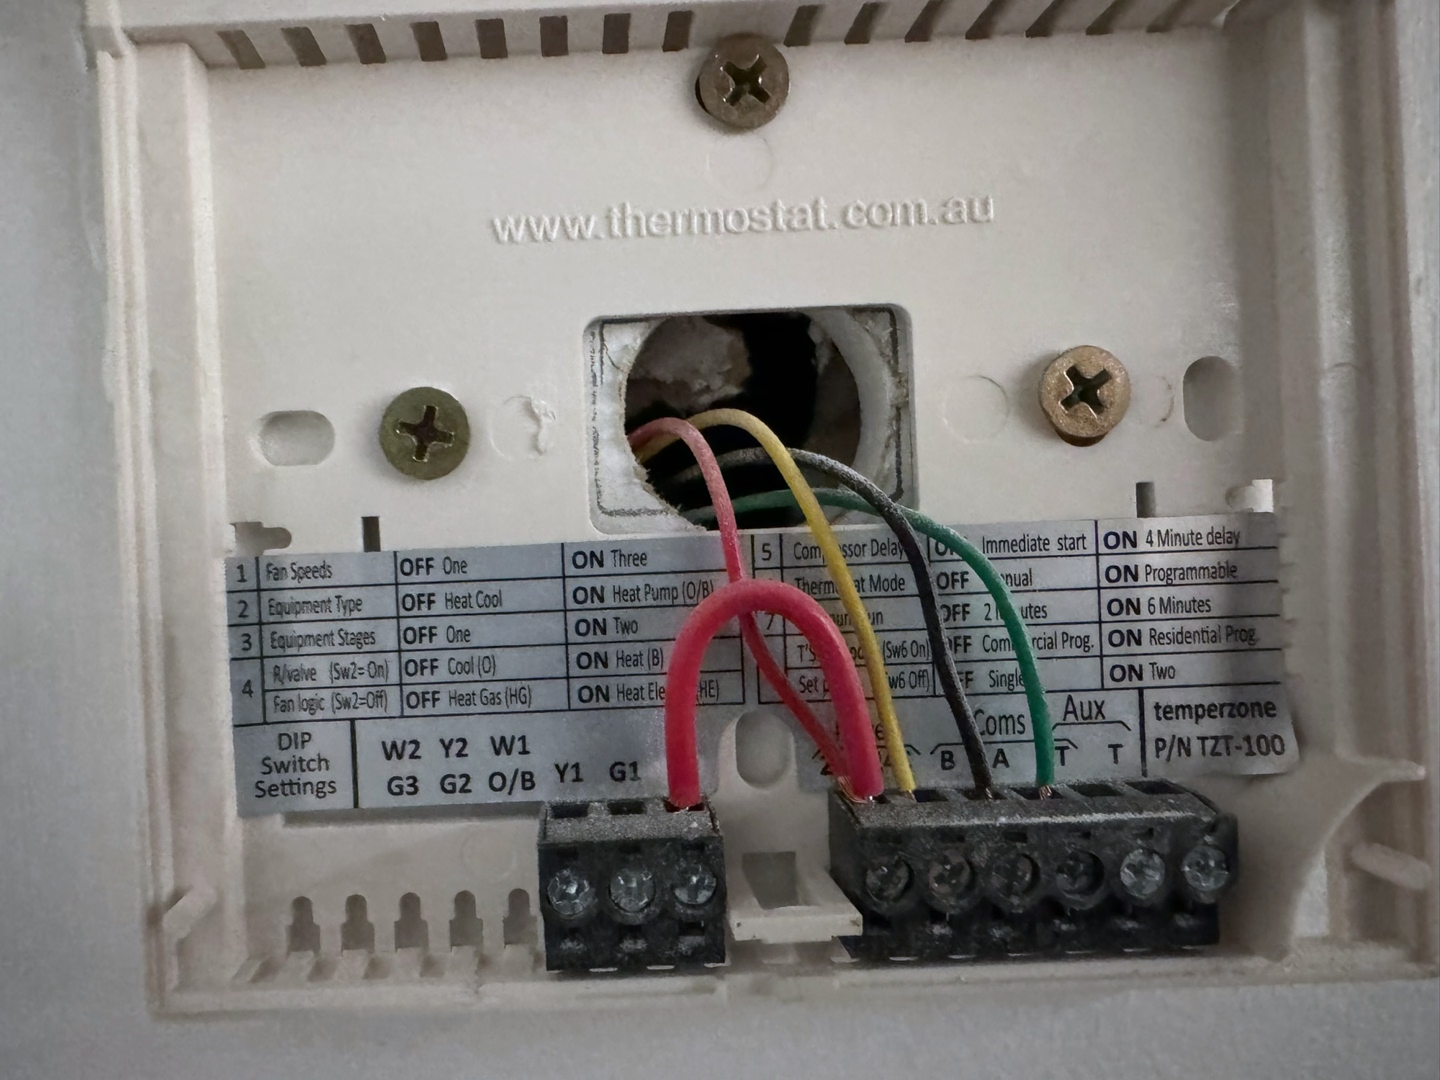
the TZT-100 wall wiring
There were 4 wires, some Google-fu, and came to the conclusion of needing RS-485 to communicate with the compressor’s board. I have never touched such low level controls before, but figured I would need a programmable screen on which I could generate my controls.
Settled on a WT32-SC01 Plus. It could be powered by the bus with a buck converter down to 5v, had onboard RS-485 for AC interaction, and had ESP32 for interface design and was easily flashable over WiFi.
About 10 minutes after opening the Panel from its packaging, I had a fully interactive ( albeit fake ) controller flashed to the unit. I was astounded.
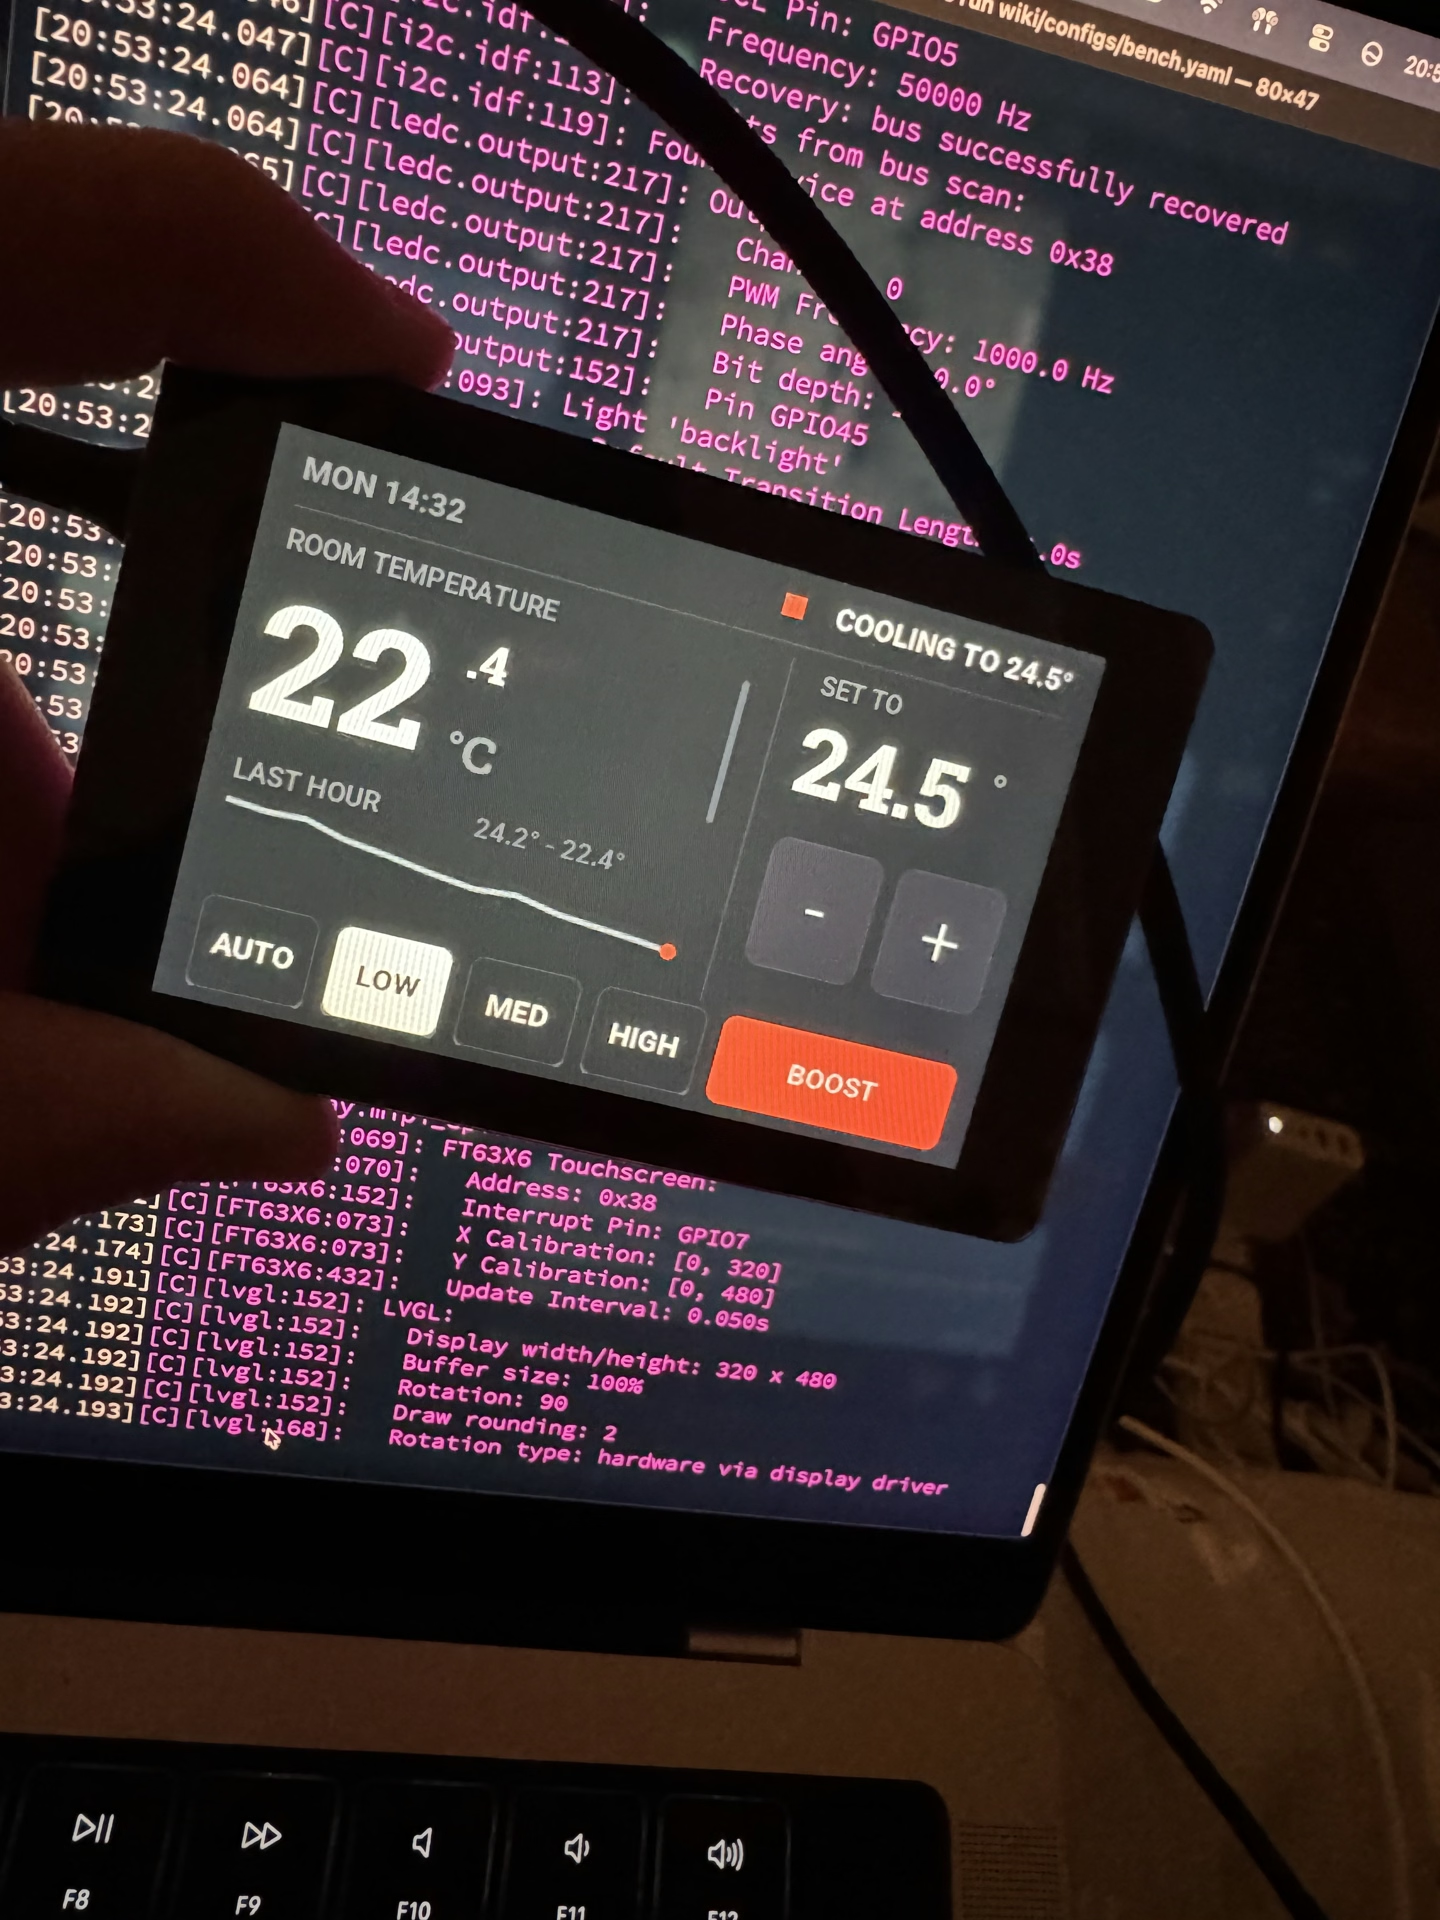
first prototype
I immediately ripped the TZT unit off the wall, and with some Dupont cables and Wagos spliced read-only the prototypes I was putting on the WT32 Panel.
It got messy fast.
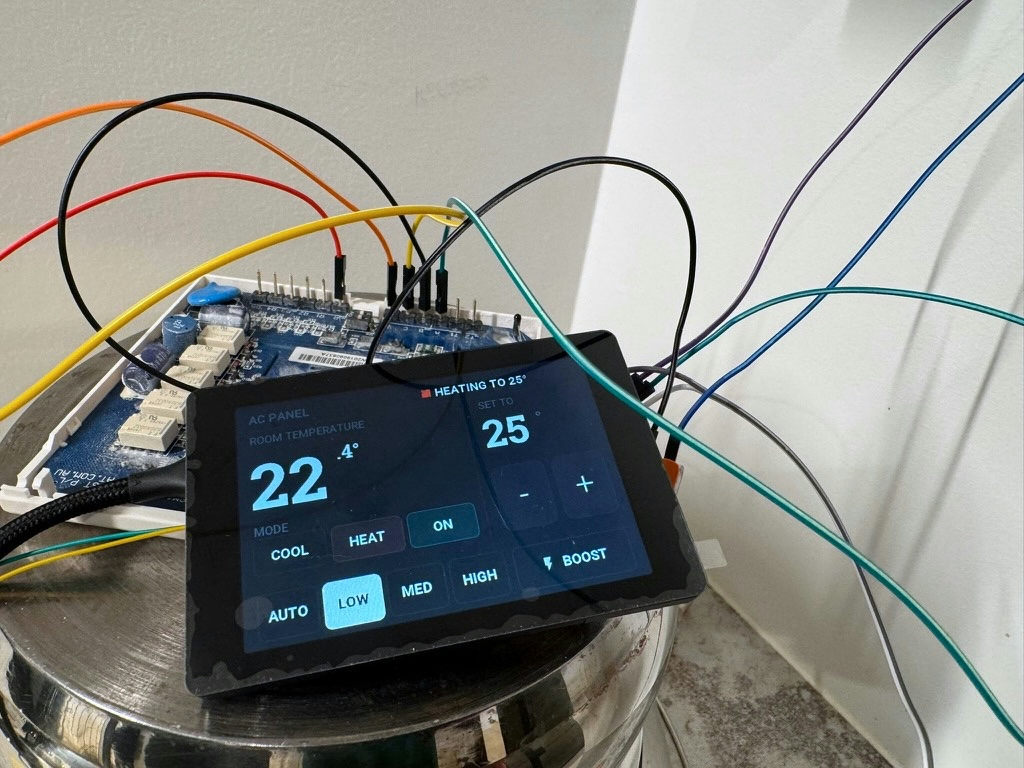
answering the polls, and being believed
Decoding Modbus with LLMs
But this is the part where I was amazed at how well the partnership with an LLM worked. I created a few scenarios and series of button presses. Then sequentially go through these in a timed fashion on the original TZT panel - whilst a USB-C 485 interface would listen on the bus. Behind the scenes, the LLM would then create and tag each of the registers that came back to corresponding controls in the mocked up ‘new’ AC Panel Interface.
In the span of about 5 minutes, the entire heating, cooling, fan control and just as importantly - handshake protocol was captured, replicated, documented, and implemented in the new app.
I could not believe what I was seeing. The fusion of digital, physical - guided in some part by an intellectually deductive LLM - was creating something novel and very much useful in the real world.
Pareto distribution of effort was strong in this one. In a single evening I was able to prove it works, and that felt like the heavy lifting is completed. But it took another month to tidy up the code ( remove remove remove ), improve the UX, build the tests, create the electrical and mechanical safety net within the execution of the code to get it ‘production ready’ ( ie your significant other can use it with joy ).
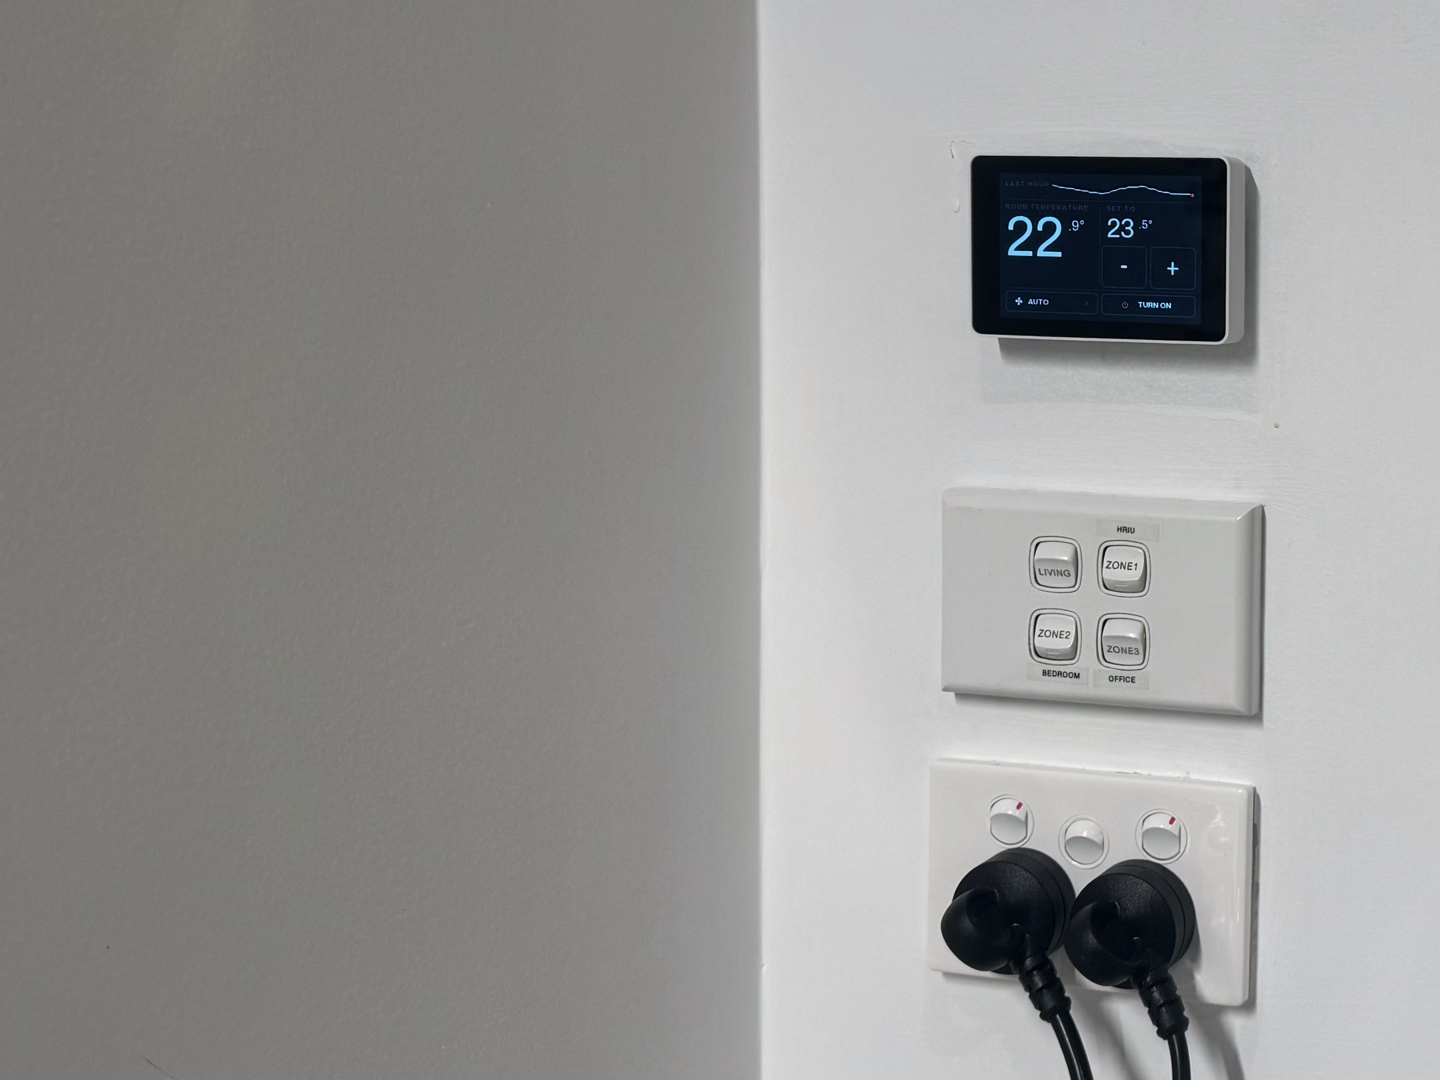
3d printed case over a WT32-SC01 Plus making up our AC Panel
Hysteresis
It was one thing to get the unit operational, but it was a significant undertaking to make what it controls be pleasant - ie where you don’t have to think of its existence at all. Specifically the entire control loop of conditioning throughout the apartment.
Because the panel has taken over the thermostat and the controls for when and what to output from the ducts, it came with its own opportunities for improvement.
- how quickly should a room reach its target temperature ?
- when it gets there, what do you do to minimise effects on the evaporator coils if you stop the air completely ?
- what should be the minimum run for oil return; are the low / med / high fan bands representative of the compressor’s capacity to even get to the temperature given the thermal properties of the apartment ?
- how can you minimise the noise from the ducts as it pushes air through at various speeds to reach said desired temp.
As you can guess, I ended up with a lot more questions.
–
All data is logged to Influx via Home Assistant, and thus can be analysed. The great thing now is that every minute nuance is improvable.
Home Assistant was added so I could then register the new panel as a regular AC natively to Apple’s HomeKit, and thus have automations / control beyond the touch panel.
Furthermore to alleviate the need to go into the kitchen on every firmware push, I had put together a digital twin which incorporated not just the logical control simulation with the registers and lockout timers, but pixel and dimensionality of the unit as a finished product. This allowed me to tweak the UI within the constraints of physical space that the unit would take up on the wall and within its case.
Below is an effective copy of the earlier captured protocol, controls ( for the user ), and guardrails ( against the user ) that helps simulate with great fidelity what ends up on the wall. Have a poke around. Or feel free to go through the break down of each register on the documented version.
Next fun step will be the damper / zone controllers per room.
But overall. Am quite happy with the result, and it shows that “impossible” is just a synonym for “I have nothing to sell to you today”.